Monday, April 18, 2011

How to Make Mitered Corners

It took me several tries before I could make perfect mitered corners and the directions from Martha Stewart's Encyclopedia of Sewing and Fabric Crafts is the easiest one to follow.

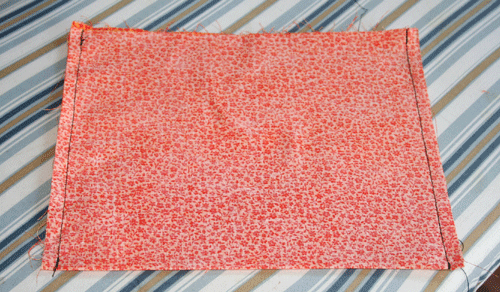
Once you've mastered the basic skills required, you can apply them to making napkins and tablecloths with mitered corners.

  1. Press 2 folds into each side of the fabric square; the first fold is 1/2 inch wide; the second is 1 inch. Unfold the second crease. Fold one corner in so the second crease lines up. Press.
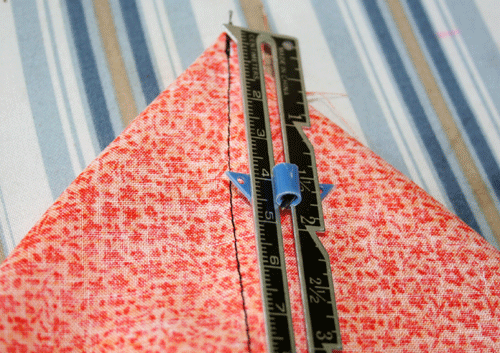
  2. Unfold the corner, and refold on a diagonal with right sides together. Stitch along the crease made b the folded corner. Repeat with the remaining corners.
  3. Trim the points from the corners to 1/4 inch, tapering. Press the seams open and the corners flat.
  4. Turn all 4 corners inside out (which is actually right-side out); press again.
  5. Stitch down the fold all the way around so you have a seam 1 inch from the edges.


Tote Bag


I sewed my first tote bag the other day, based on this pattern. I tweaked the pattern a little by squaring the bottom of the bag - see below (taken from this link from CraftyDaisies, which has the best tutorial for squaring bags).


How to Square Bags

August 24th, 2007 by Jen Love

I had been asked by several to explain what I meant by the term “gussetting” in several of my former projects. It’s one of those techniques that is difficult to describe in words but is really easy to do! I promise if you try this quick tutorial it will change the way you sew, especially the way you make bags!

1. For my example I made a small pouch by folding my fabric in the middle (right sides together) to make the bottom of my bag, and sewing up the right and left sides.

square-1.gif

2. Then at one of the corners I put my hand inside of the bag in order to flatten it in the opposite direction.

square-2.gif

3. Now you are looking at the end of your bag and it should look like a triangle. Center your seam between the other 2 sides of the triangle and measure down from the peak the measurement of half the width you want the bottom to be when finished. Not hard math- 1 1/2″ if you want a 3″ wide bottom…it will depend on the size of your bag.

square-3.gif

4. Using ruler, mark with pencil or chalk a vertical line across your “triangle”. This the line that you sew your seam across.

square-4.gif

5. Repeat for the right and left sides of the bag. This is also how you could make ears on hats for kids, but by sewing on the right side of the fabric.

square-5.gif

6. When you turn the bag inside out it will have 2 square sides. Cover cardboard and add to the bottom to make your bag sturdy. This same technique can also be used on knitted bags, which is were I first learned to gusset.

square-6.gif